DIY: How to Build Your Own Faraday Cage
|
Time to read 1 min
|
Time to read 1 min
A Faraday cage is a simple but effective device that blocks electromagnetic fields, protecting sensitive equipment from interference or potential damage. You can build one in your lab with common materials, making it an affordable and practical solution for experiments. The core principal is to use a conductive material capable of channelling an electric field along its exterior. Besides being made from the appropriate material, this conductor needs to be well - sealed in order to effectively shield. Here’s a step-by-step guide to creating your own Faraday cage.
Table of contents
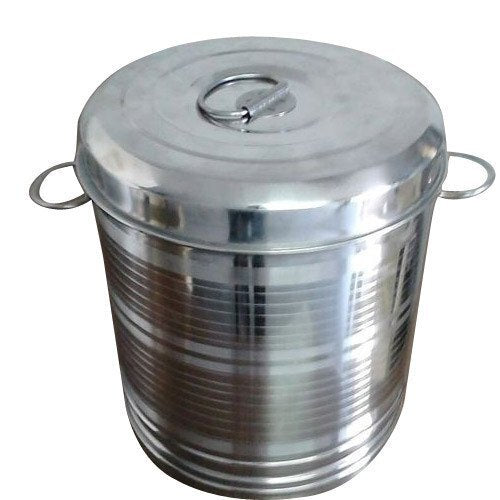
Select a container to act as the structural base of your Faraday cage. Metallic containers, such as trash cans, are ideal as they provide natural conductivity. If you use a non-metallic container, it must be fully covered with conductive material to be effective. Ensure the container is large enough to accommodate your electrochemical cell setup.
Create openings/holes for essential connections, such as cables for your electrochemical cell or tubing for purging gases, if required
Pay special attention to edges, corners, and openings like lids or seams. Overlapping edges should be sealed with conductive material such as aluminium foil.
After setting up, measure the noise levels with and without the cage to confirm its effectiveness and ensure the cage is properly grounded to enhance its shielding capabilities.
Creating a DIY Faraday cage is cost effective and easy to assemble way to protect your data from electromagnetic interference and offering a significant improvement in data quality. With the steps outlined above, you can assemble a functional cage using materials readily available at home.

